An air compressor pressure switch is a safety measure that can help safeguard a compressor from potential damage. If the pressure levels in the compressor become excessive, the switch will be triggered to switch off power to the unit. This action ensures that the compressor is not overburdened and can avoid being damaged as a consequence.
Adjusting the pressure switch on your air compressor can be tricky, but there are a few easy steps to follow in order to do it right and remain secure. Here they are!
1. To begin with, familiarize yourself with the pressure gauge on the compressor and notice the current pressure displayed in the system. If you detect that it exceeds a safe level, then you must decrease the power to the compressor and release some of the accumulated pressure before you continue.
To find the pressure switch, you’ll need to look on the side of the compressor – it’s usually located there.
The pressure switch is fitted with a knurled knob or screw, which can be twisted as required. To increase the amount of pressure, turn the knob clockwise. To lower the pressure, turn the knob counterclockwise.
Once the pressure setting has been tweaked, switch on the compressor and take a look at the pressure gauge. If it’s still not where you’d like it to be, continue adjusting the pressure and confirming the readings until the ideal level is achieved.
When the pressure in the system falls below the standard, you’ll have to shut off the compressor’s power source. Subsequently, add air into the system until it centers back on the prescribed amount of pressure. Now, you can resume power and ensure the by having a further glimpse at the pressure gauge.
With the proper pressure gauge reading, it is evident that the pressure switch was successfully adjusted.
Post time: 2023-06-20Related Product
Warning: Use of undefined constant rand - assumed 'rand' (this will throw an Error in a future version of PHP) in /www/wwwroot/www.sunritamachinery.com/wp-content/themes/msk5/single.php on line 69
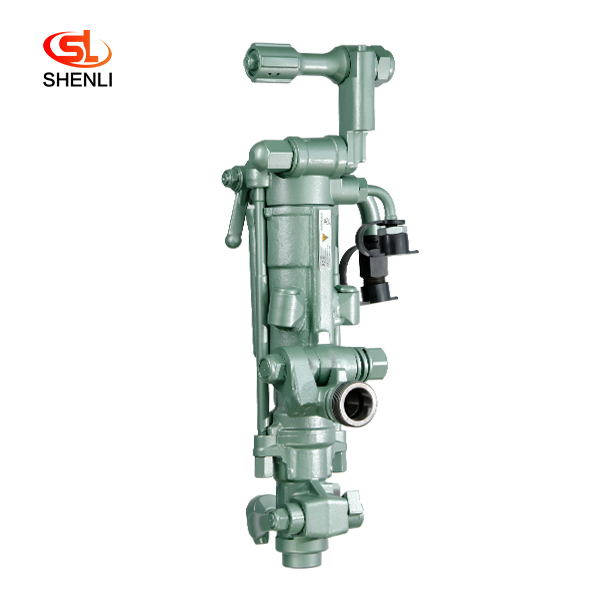
S250 Air Leg Pneumatic Rock Drill Pusher Leg Rock Drill
Product description: (S250 jackleg Drill) has been the preferred choice of miners who demand high performance, superior control and lasting reliability. the S250 jackleg allows ope […]
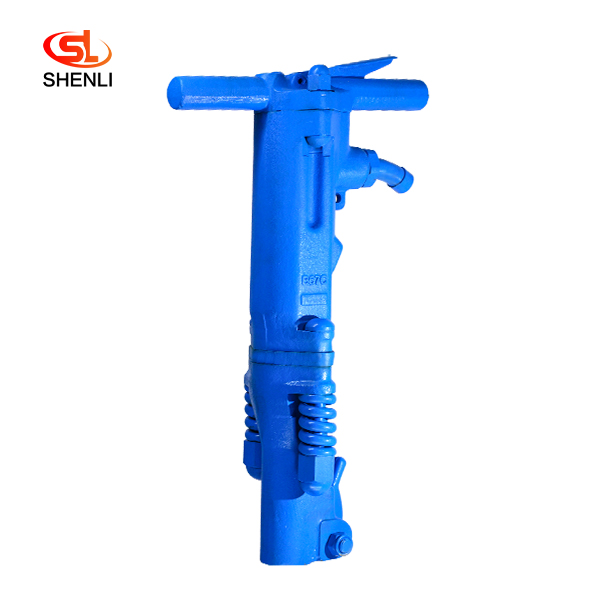
B67C Pneumatic Chipping Hammer
Product description: The B67C crusher is made from Canada. Denver pneumatic Group company mature technology, with compressed air as a power crushing tool, can efficiently complete […]

TCD20 Pneumatic Pick Air Shovel Cement Crusher Pneumatic Chipping Hammer
Product description: The TCD-20 pneumatic pick is powered by compressed air using Japan’s TOKU technology Crushing tools, features: lightweight, small size, large strike ener […]
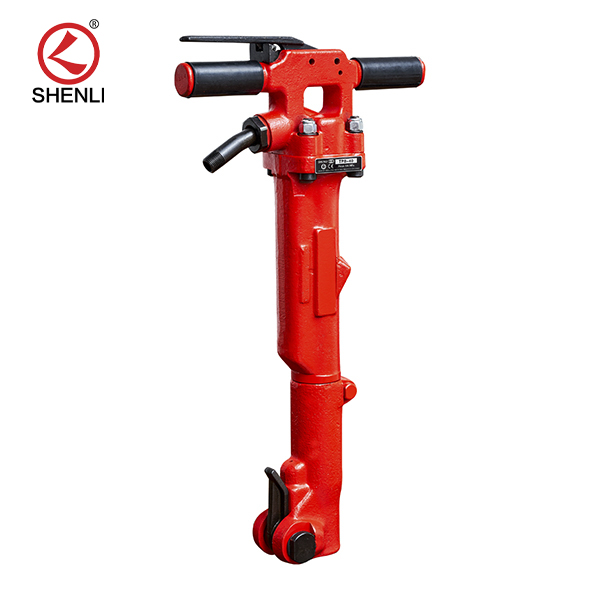
TPB40 Air Breaker Pavement Paving Breaker
Product introduction: Tpb-40 pneumatic crushing pick is a tool powered by compressed air.The compressed air is distributed to both ends of the cylinder block in turn to make the ha […]
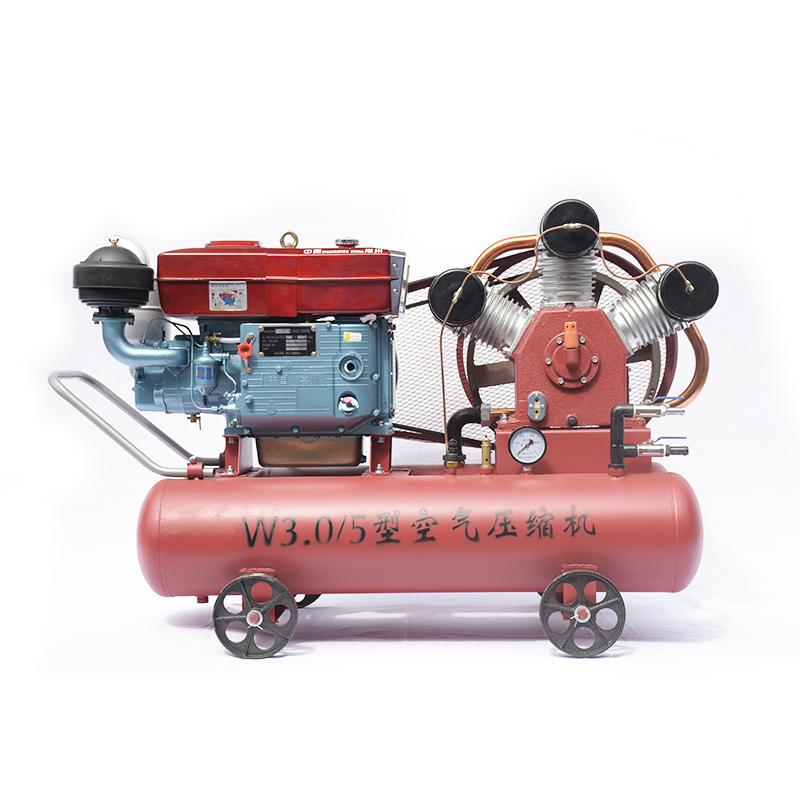
15kW Mining Diesel Piston Air Compressor W3.0-5
Diesel Portable Piston Air Compressor Mobile for Jack Hammer / Mining 1.Simple structure,light weight,easy to move . 2.Easy operating and maintenance. 3.High quality air delivery. […]

TPB90 Air Breaker Pavement Paving Breaker
Product introduction: TPB-90 crusher adopts the mature technology of TOKU Group, Is compressed air as the power of the crushing tool, can efficiently complete the reinforced concre […]
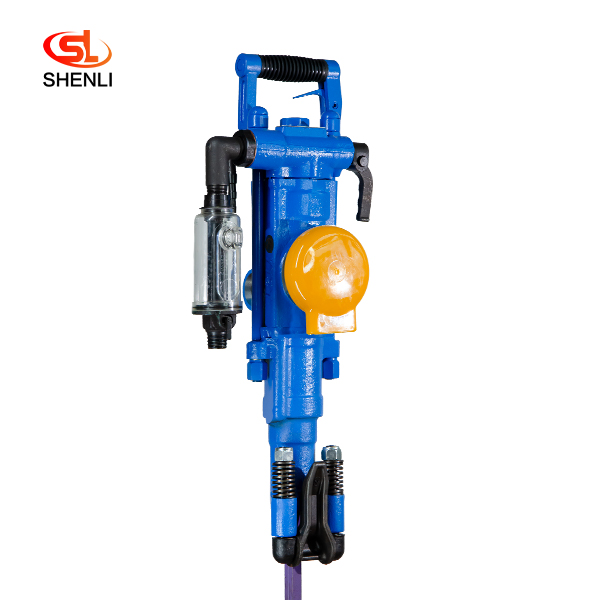
YT27 Air Leg Pneumatic Rock Drill
Short Description: The YT27 air-legged rock drill is a highly efficient lightweight rock drill suitable for downward or inclined drilling in medium-hard or hard (f=8 – 18) ro […]
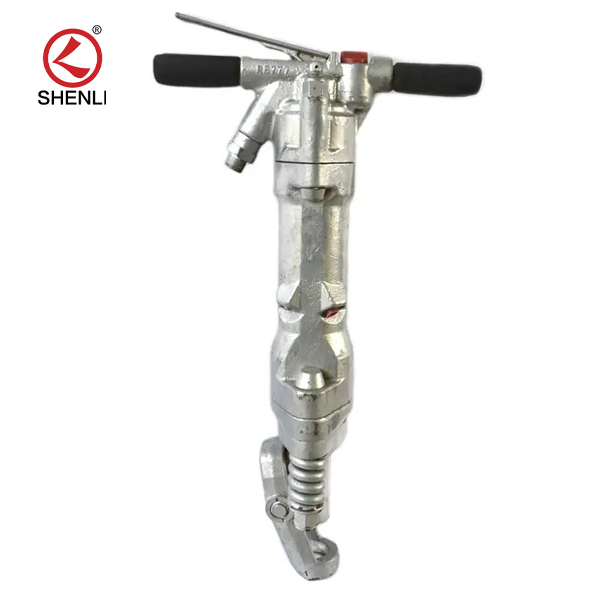
RB777 Pneumatic Pick Air Shovel Cement Crusher Pneumatic Chipping Hammer
Product description: RB777 pneumatic picks are used to build roads, install works of broken concrete and other hardens Hard object tools, the machine structure is simple, high effi […]
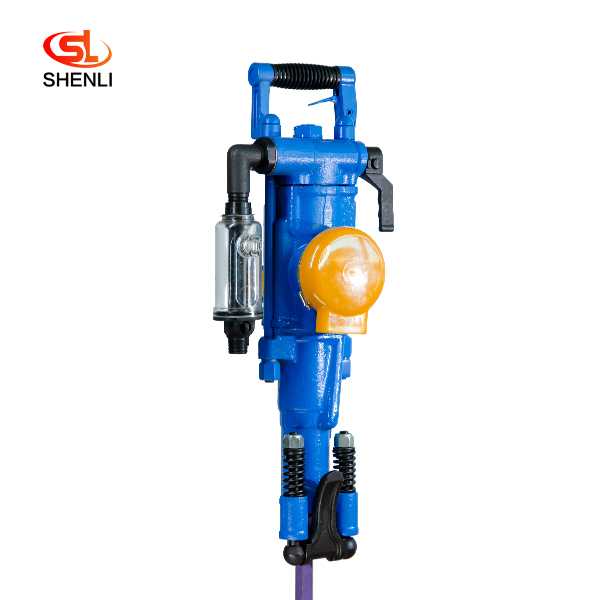
YT28 Pusher Leg Rock Drill
Short Description: The YT28 air-leg rock drill is a kind of high-efficiency, energy-saving and environmentally friendly rock drilling equipment. Compared with similar pneumatic pro […]